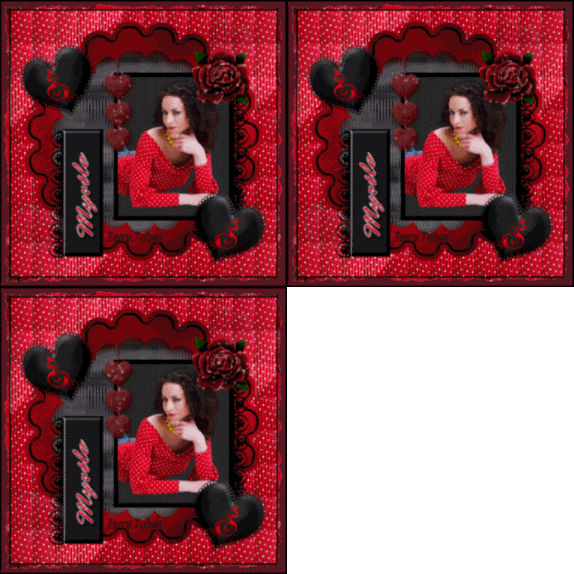
 Full View HERE
Black and Red Beauty
This tutorial was written by Myrtle on Januray 30th 2009
Any Simularity to any other tutorial is purely coincidenta
l and was written in PSP 9 any verison will work
Black and Red Kit in
Supplies
Tools needed
Scrap Kit
Tube
Tranages Filter
Eyecandy 4000
Xenofex 2
Open the Kit
go to promoted selections layer in kit
with magic wand click inside frame
Selections modifty expand 2
Find your tube of choice.. resize 80 percent
I am using artwork by Terry' Tubes
copy and paste your tube as new layer
selections invert delete
Pull the tube under the frame
Selections select none
Go to raster 10 from kit
Selections select all float defloat
layers new raster layer fill with color #681f22
add drop shadow
Selections tool rectangle draw around a piece of tube dress
Layer pallete promote selections to layer
Layer pallete pattern
find the layer you did from selection
Layers new raster layer move above background layer
Fill with the pattern
Go to effects Tramages Filter tow the line
settings
Control 0: 80
Control 1: 54
Control 2: 48
Control 3: 9
Apply
Add your name and copyrights
I put my name on Raster 2
from kit with pattern on background and foreground null
Font of choice
I used Gradient Glow from Eyecandy 4000
settings
Glow Width 3.00
Soft Corners 25
Overall Opacity 100
Draw Only Outside selections checked
color white
click OK
drop shadow
Merge layers all flatten
Image border color black pixel 3
Image add border
color from your tube
16 pixels
Magic wand click inside of border
Effects Reflections effects Kaleoscope
Settings
all 0 except number of petals 10
Warp checked
click OK
Effects
Xenofex 2 Crumple
Settings
Crumple Size 11.30
Crumple Force 50
Distort Image checked
Direction 60
Incilnotion 58
Highlight Brightness 19.47
Highlight Size 51.20
Highlight Color white
Random Seed 8139
Click OK
Selections select none
with magic wand click inside border space
fill with color #681f22
Effects Texture
Effects Weave
Gap size 1
Width size 2
Opacity 75
weave and gap color #e3082b
fill gaps checked
Image add border 3 pixel black
Layers merge all layers flatten
With freehand tool draw around the rose and 3 small heart layers
Effects Xenofex2 Constellation
with settings 2.00 -0- 1-1-100- 75
Twinkle Rotation 45
Keep Original image checked
Random Seed for first layer 519
click OK
Copy Animation Shop paste as new animation
Back to PSP Edit undo constellation
Effects Xenofex2 Constellation keep same settings hit Random Seed
click OK
Animation Shop Paste after current frame
Back PSP
Edit undo Constellation Effects
Xenofex2 Constellation same settings hit Random Seed
OK View Animation
if look ok resize and save as
Thanks for doing my tutorial
Registered with TWInc
Myrtle
No comments:
Post a Comment